Quote

"I cannot live without books: but fewer will suffice where amusement, and not use, is the only future object." -- Thomas Jefferson

Wednesday, October 14, 2020

Microwave: Mug O'Black Bean Chocolate Cake

In a search for black bean recipes, I was surprised to find recipes for Black Bean Chocolate Cake, including a mug version.

As usual, I adapted the mug recipe to what I had on hand. Also, the original recipe was for two mug cakes. I created a one cake mug version.
 
I actually used black beans I had just cooked. I used a different method than the one noted on SpruceEats (see Resources below).
 
I put about a half of cup of dry black beans (rinsed) into a container and filled the container with water and let the beans soak for several hours. Then, I transferred the beans to a pot and added about 1 1/2 cups of water. I brought the beans to a boil then lowered the temperature to a simmer and let the beans simmer for about an hour or more. When I checked the beans, they were soft. I turned off the beans but let the covered pot sit on the counter to cool down before I put the beans into a jar and then into the frig.


Microwave: Mug O’Black Bean Chocolate Cake
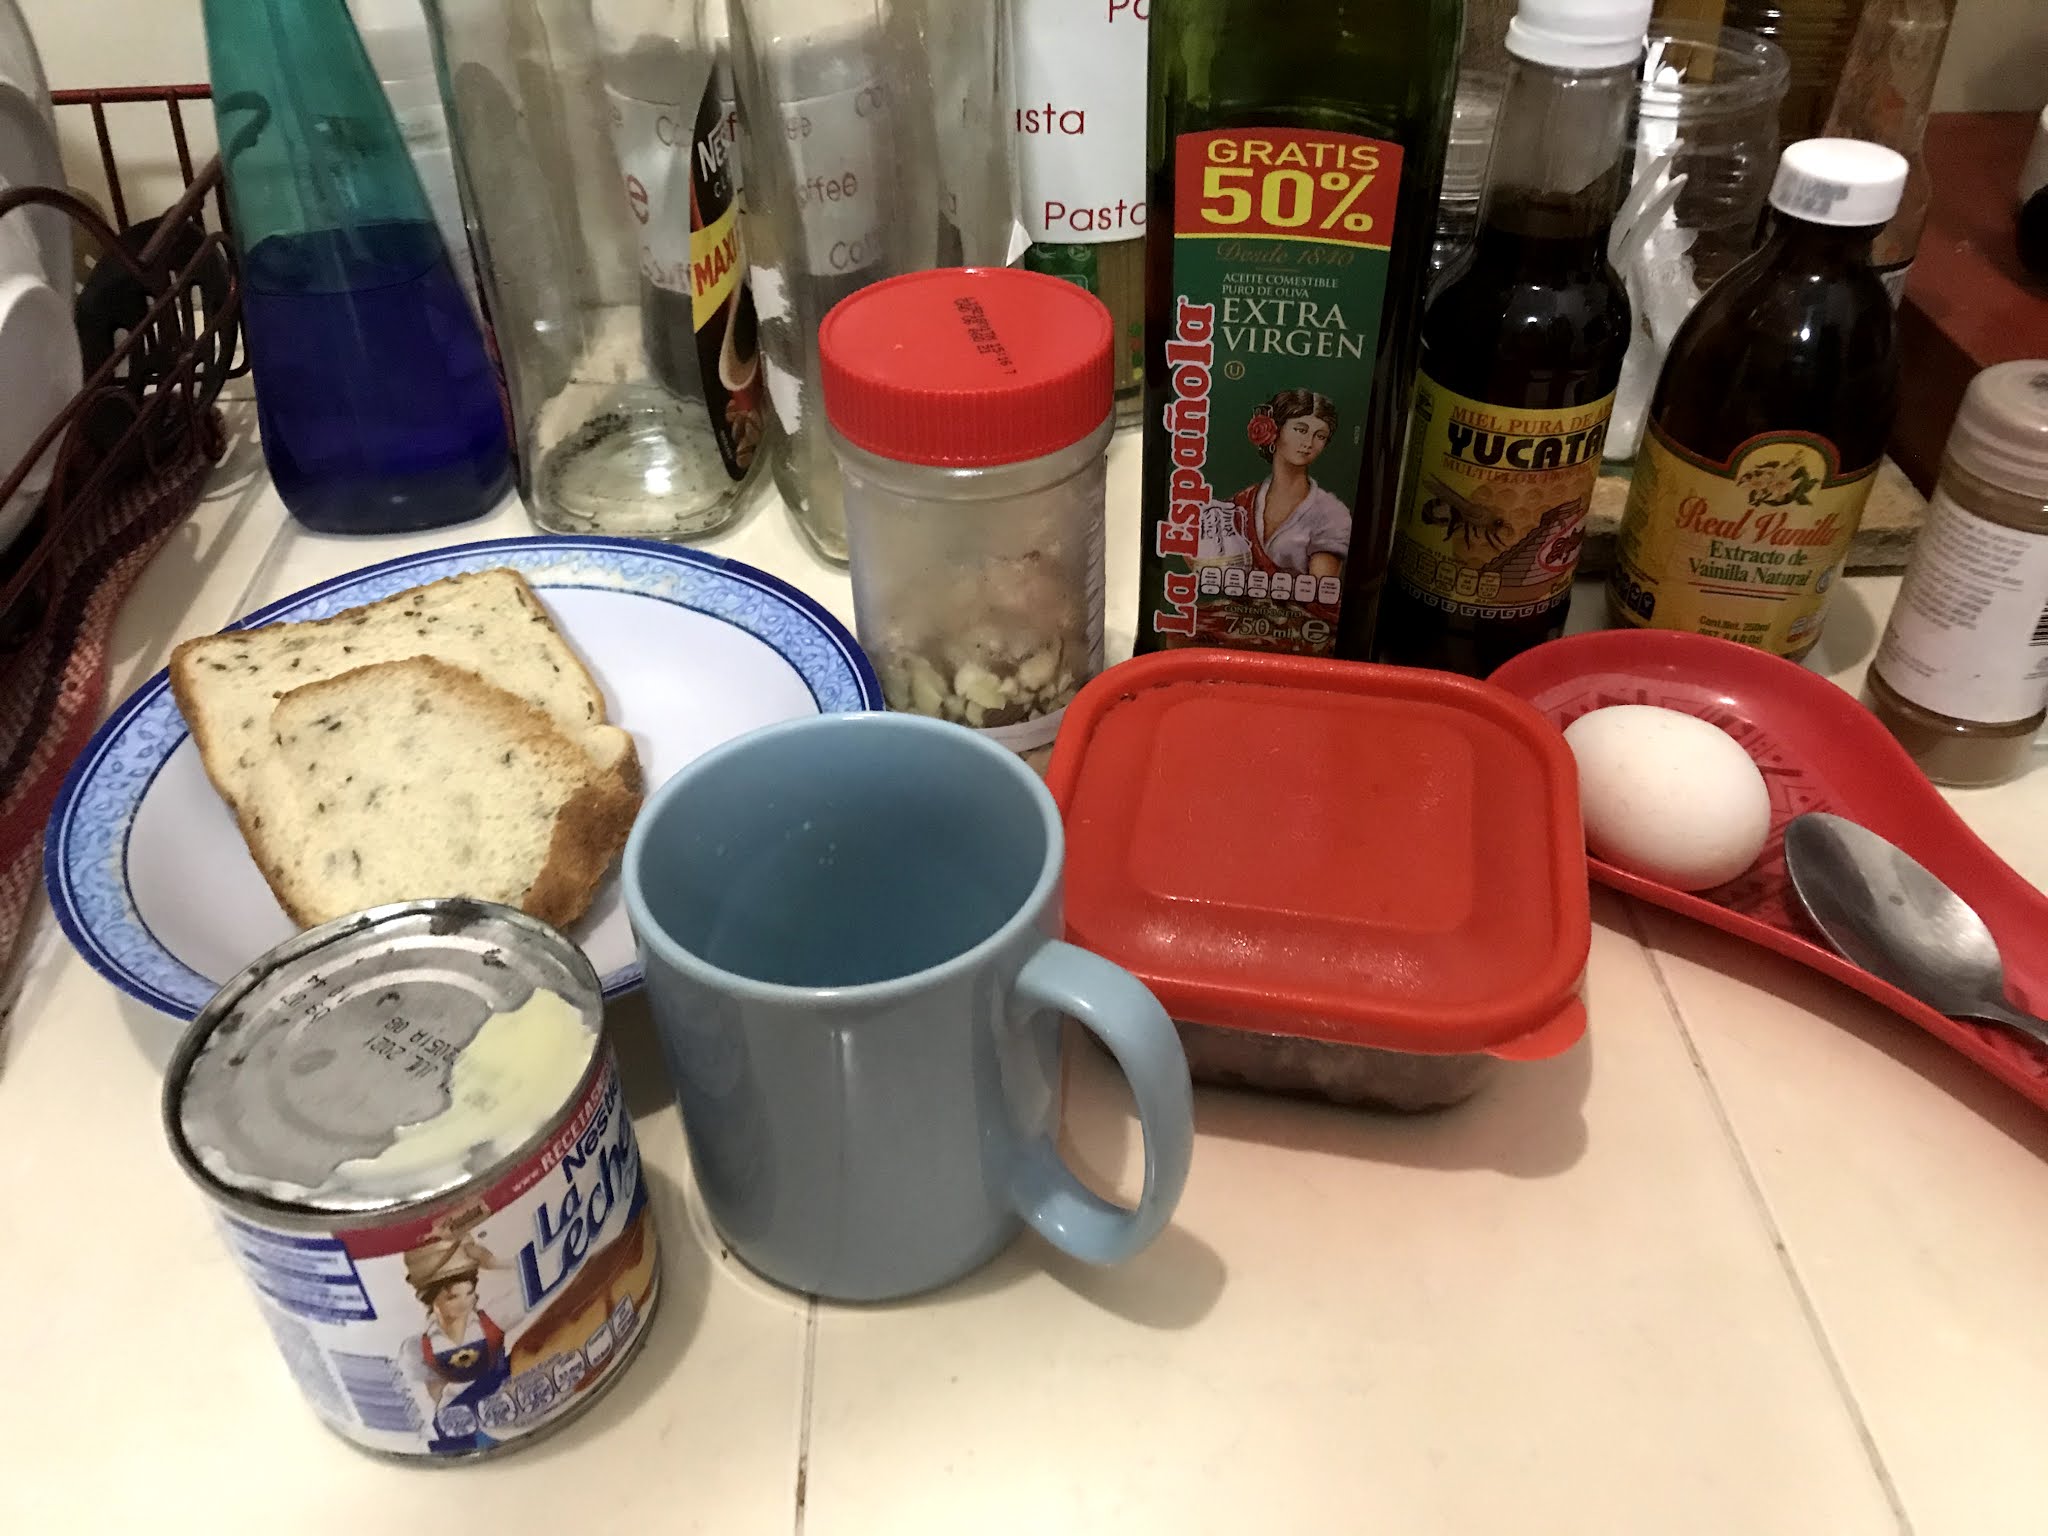

Ingredients:

1/4 Cup Black beans, cooked and drained
1 TBspn Flour
1 TBspn Cocoa powder
1 TBspn Honey
1 TBspn DIY milk (milk made with lactose-free dry milk)
1 Tspn Vanilla flavoring
1 Egg
1/4 Tspn Baking powder
Topping: Honey
Suggested extra toppings: almond slivers, chocolate syrup


Process:

Add beans to mug.
Use a fork to mash the beans. Stir and mash until all the beans are mashed.
Add flour and cocoa powder.
Stir and mix ingredients until thoroughly mixed.
Add honey, milk and vanilla.
Stir ingredients thoroughly.
Add egg and baking powder.
Whip and stir ingredients thoroughly.
Put mug in microwave, cover with a saucer.
Microwave on high for 2 minutes.
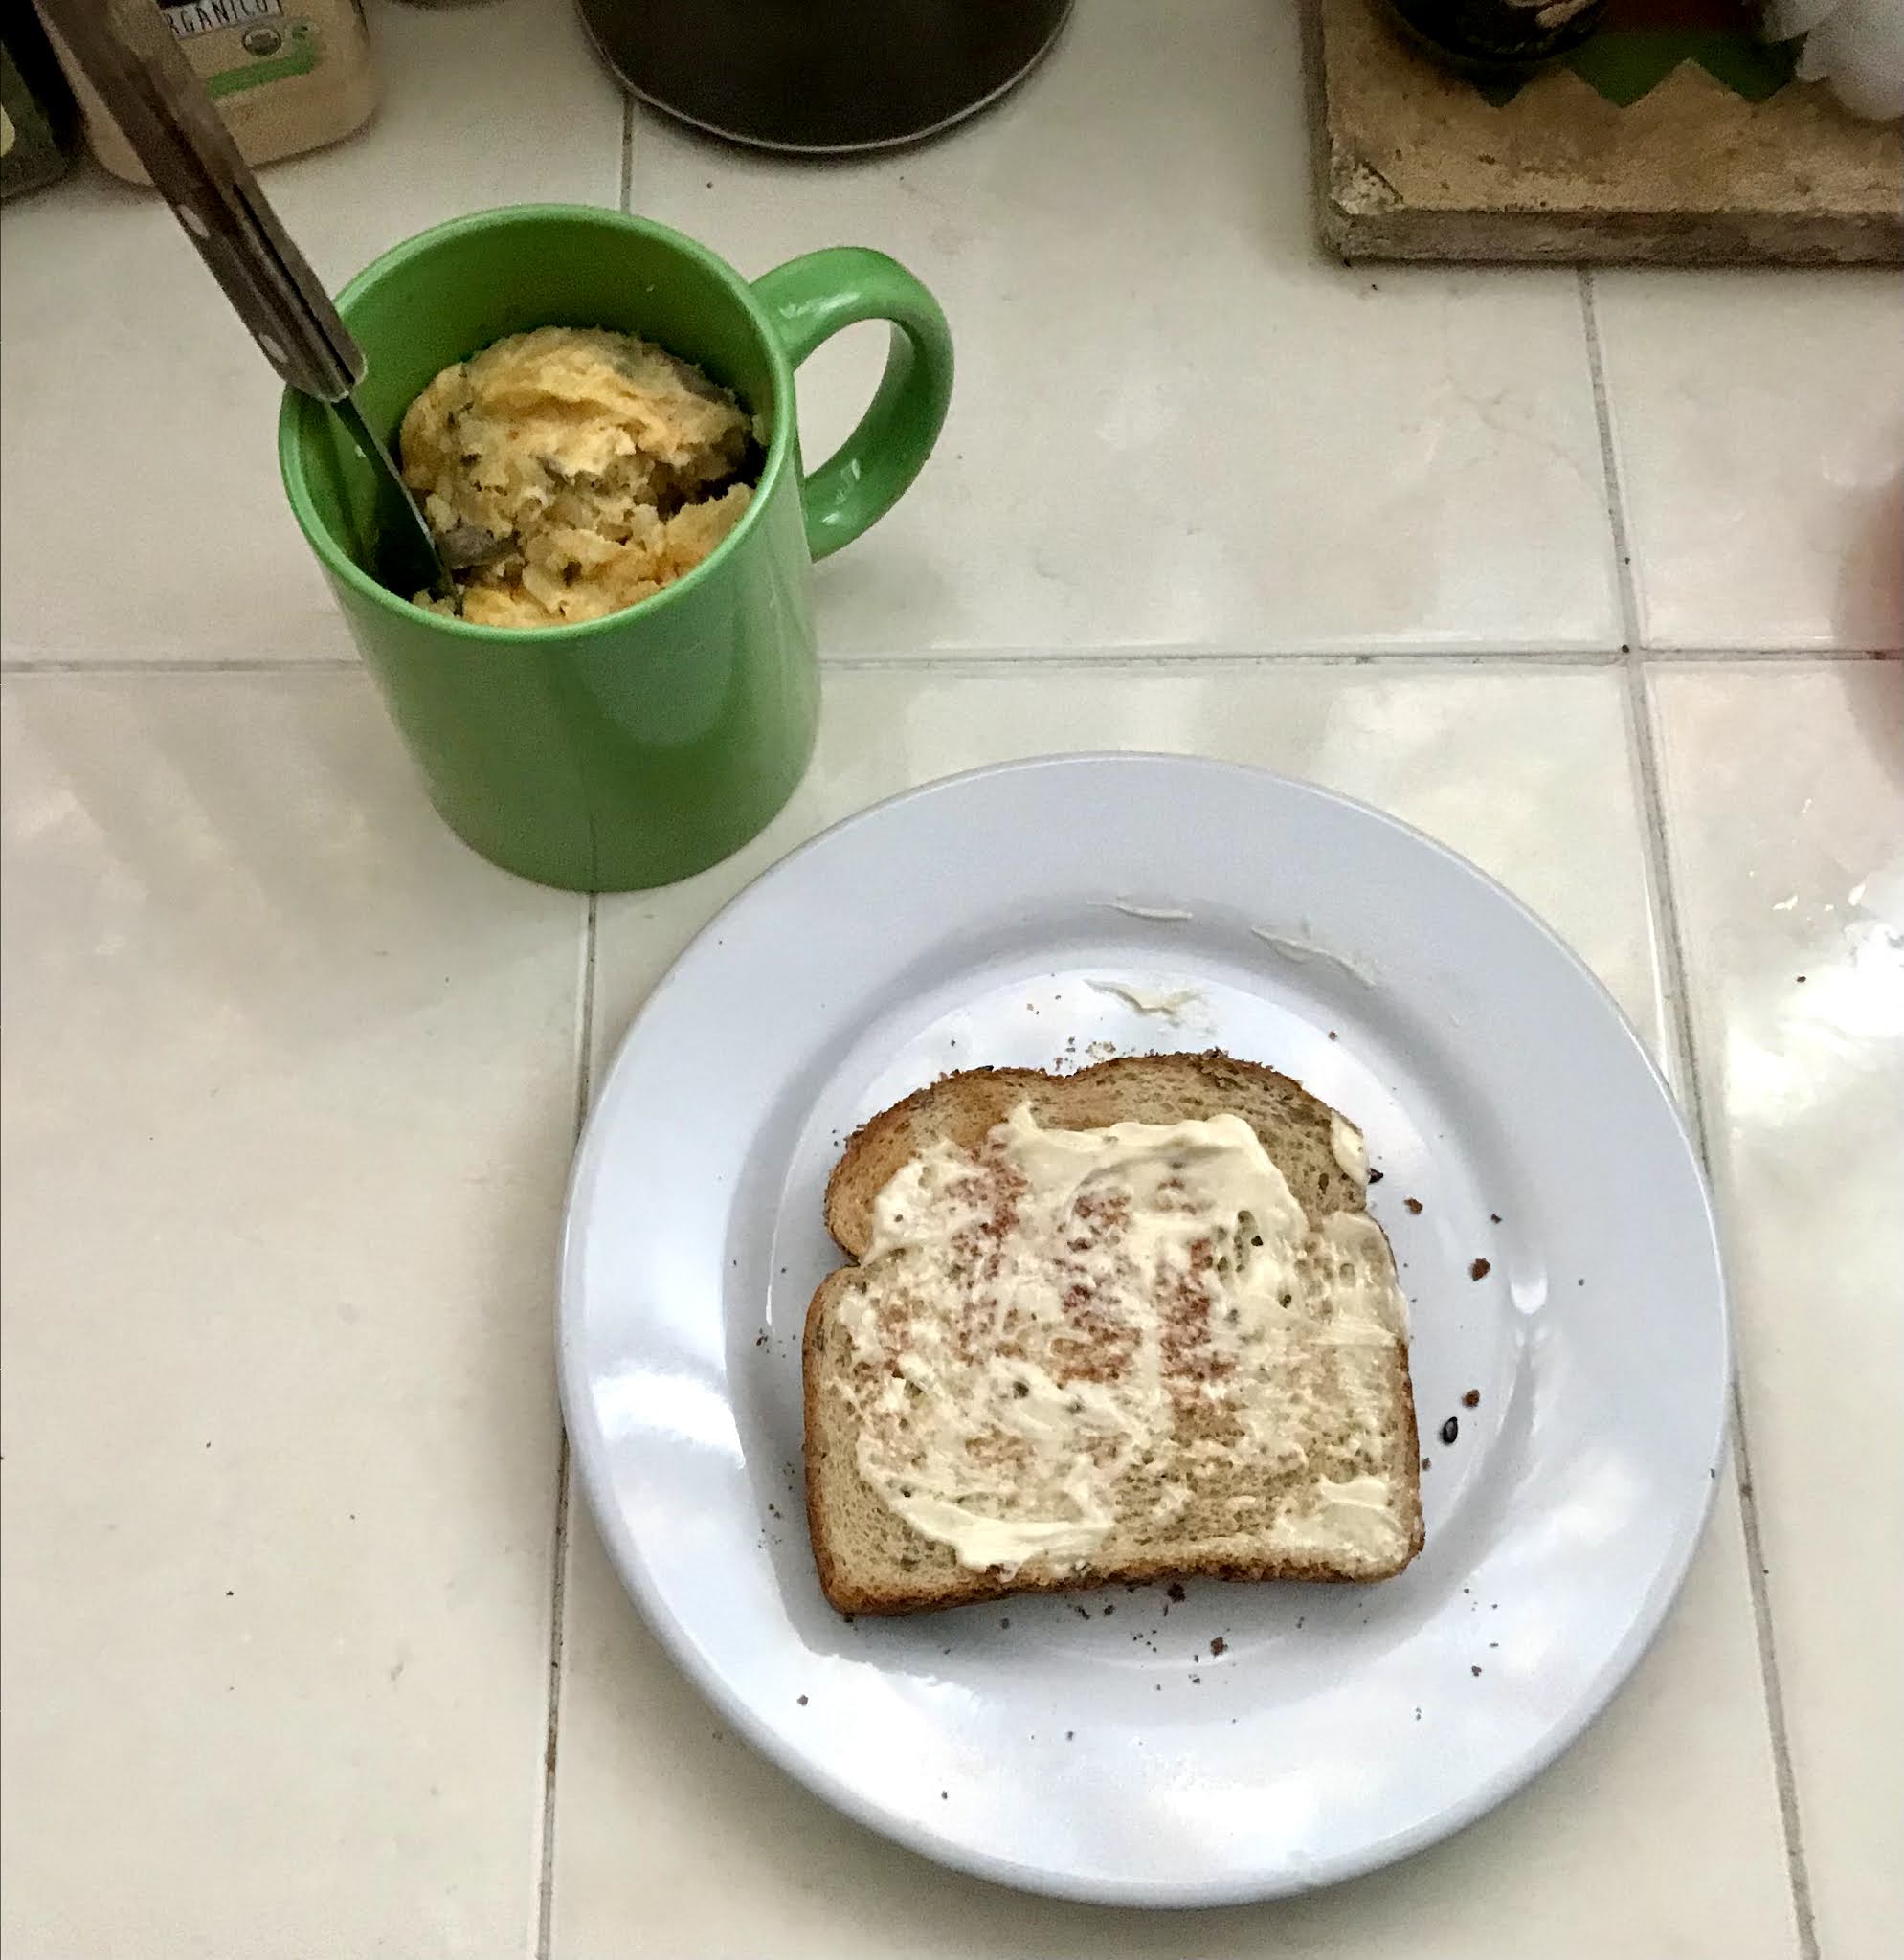
Tip mug over and use a fork to help the cake slide onto the plate.
Add topping(s).

 
I was surprised, this turned out well. It tastes like chocolate cake with a subtle flavor of the black beans.
 

Resources:
 
Spruce Eats
How to Cook Black Beans

Tuesday, October 13, 2020

DIY: Coffee Stain Remover

I thank the "Gentlemen's Gazette" YouTube Channel for this idea and many more.

https://www.youtube.com/watch?v=CHzLckkSATI&feature=youtu.be

We all have our little pet peeves. One of mine is coffee in the morning. I struggled for months trying to figure how to make a cup of coffee without spillage. Sounds silly.

 I have almost nailed it. I, now, use a large commuter coffee cup with a screw on lid. But, if I did not screw the lid on in an exact manner, it would leak when I took a sip, so I have stained a lot of tops. I am more careful, now, so I usually do not have any spillage.

But, when I had a spill recently, I found the Gentlemen's Gazette's video on clothing stains and how to remove them.


Spray coffee stain with rubbing alcohol, blot with cloth, then hand wash garment.

I tried the advice for removing coffee stains and it worked!!!

Monday, October 12, 2020

Refrigerator: Vanilla or Horchata Chia Pudding

Chia seeds are incredibly small, amazing and alien.
 
By Magister Mathematicae - Own work, CC BY-SA 3.0, https://commons.wikimedia.org/w/index.php?curid=15245222

While I sprinkle Chia on many dishes, but Chia pudding has become a favorite dish.


Refrigerator: Vanilla or Horchata Chia Pudding


Ingredients:

1 Cup Dry Milk mixture (Lactose free)
1/3 Cup chia seeds
1/2 TBspn white sugar
1 Capful vanilla extract

Or just use 1 Cup of Horchata and eliminate, sugar and vanilla.

Makes about 11oz.


Process:

Combine milk, chia seeds, sugar, and vanilla extract in a container with a lid.
Stir to mix thoroughly.
Add lid.
Put in frig overnight.
 
The Chia seeds will absorb the liquid, expand and jellify.

The next day, serve pudding, offer various toppings like: fresh fruit, dried blueberries, raisins, crushed nuts, sesame seeds or other items.


Over time, the pudding will thicken, add more liquid to keep it the consistency desired.*

*The more milk/Horchata I added, the more pudding I had as the Chia continued to expand.

DIY: Two-Tone Blouse Conversion and the Back Stitch

A simple blouse and a small success.

After retiring from desk jobs, and living in a “buy what you need culture”, it did not take long to realize I did not have many basic living / survival skills.

Besides continuing to learn how to cook, I need to Up My Game in various areas like food preservation, sewing, home repairs, saving $, understanding nutrition and health standards, and more.

So, many of the YouTube DIY Crafts videos are helpful in learning basic skills.
 
You have to admire YouTube creators, not only for demonstrating their area of expertise and creativity but also for their abilities to produce quality videos which require planning and organizing their script and tools.

To make a video also requires a wide range of skills including: writing, staging, filming, lightning, audio production, editing and more.
 
 
 DIY: Two-Tone Blouse Conversion

I got the idea for making a “Two-Tone” blouse conversion from BlueprintDIY:

https://youtu.be/h7iVt6LK_S4
 
Basically, you take two shirts or blouses and cut them in half and then sew together one piece from one shirt/blouse to the alternate half of the other shirt/blouse. But, take a look at the video for specific instructions.
 
I enjoy this shirt because I was not wearing either of the two blouses very much, so now I like wearing my two-tone blouse. I have not sewn the other halves together yet, to make another two-tone blouse.


Sewing: the Back Stitch
 
During this process, I learned a new sewing stitch, the Back Stitch. Now here is where I am going to complain a bit. While I like the DIY Craft videos, many of them make the process look simple but it's never as simple as it looks.
 
Back Stitch from Wikihow

Also, often I can't follow the steps in many of the DIY Craft videos, so I go to the internet to look for articles on the same topic like the Back Stitch and even there many articles include moving videos which drive me crazy.
 
Moving videos make me physically ill. I have to cover the moving image with my hand in order to read the text. So, even though I have offered a link to an article on how to make a Back Stitch. I had a lot of trouble following the steps due to my issues with moving images.

While I can watch a DIY Craft video or a movie like a continuous story, I can not follow the video's steps in making a craft. It is a struggle.
 
Not sure but my problem may be related to:

Microwave: Mug O'Salmon & Vegetables, Mushrooms, Rice and Egg as a Toast Topping & Salad

A two-fer.

Perusing the frig contents, I had mostly eggs, a cucumber, a carrot, potatoes, salsa, cooked rice, LO canned salmon with vegetables, Italian lettuce and LO canned mushrooms.

This is when the ingredients come before the recipe.

Hmmm, we could make a mug of “fried rice” with salsa and an egg, but can’t add lettuce. Ok, what else? Maybe a salmon salad. I’m warming up.

Ok, we’ve got salmon with vegetables, cooked rice, an egg, mushrooms. Let’s start with this combo.

This reminds me of Jack Monroe. While this recipe does not resemble her recipes, the salmon brings back memories of her creamy salmon pasta.


Microwave: Mug O’Salmon & Vegetables, Rice with Egg as a Toast Topping
 

Ingredients:

1 Slice Multi-grain bread, toasted
A dab Olive or vegetable oil
1-2 Drops Hot sauce
1-2 TBspns Cooked rice
1 TBspn Canned salmon with vegetables
2 TBspns Canned mushrooms, diced, drained, rinsed
A dollop DIY Milk
1 Tspn Mayo


Process:

In a mug, add a dab of vegetable oil.
Add hot sauce (a tip from Jack).
Add cooked rice.
Add canned salmon.
Add mushrooms.
Add egg.
Stir ingredients thoroughly.
Add milk.
Stir thoroughly, again.
Place in microwave.
Cover with a saucer.
Microwave on high for 2 minutes.
Remove.
Stir.
If the liquids have not cooked away, return to microwave and cook 1-2 more minutes.

When I removed the mug, I realized the mixture was heavy. So, I made some toast, spread it with mayo and spread about 1/3 of the mixture over the toast.

Delicious.

A leftover success!!


Salmon with Vegetables, Mushrooms, Cooked Rice and Egg Mixture Salad

Using some of the remaining mixture from the recipe above, I'll make a salmon mixture salad for lupper, using some of the Italian lettuce, chopped olives, shredded cheese, cucumber and carrot.
 

DIY Mayo, Apple Vinegar, Yogurt and Paprika Dressing


Starting with an almost empty jar of mayo, I added about a dollop of yogurt, apple vinegar, and paprika. Then, I shook the jar vigorously to mix the ingredients. I only used a dribble of this mixture on the salad.

I have fallen in love with Italian lettuce, it is crispy and textured and it has more flavor than iceberg lettuce.
 

Actually, that one mug of salmon with vegetables, mushrooms, rice & egg made 3 meals. The above salad was my second salad made with the mixture.

Freaking Frugal: A YouTube VideoLog of a Dumpster Diving Couple

Freakin Frugal: A Dumpster Diving Couple on YouTube

 
I started watching Mr. and Mrs. Freakin Frugal because I wanted to understand Dumpster Diving.

I have watched a lot of their videos at:
 
They are genuine, funny, and offer great ideas and information.
 
Mrs. Freakin Frugal is the video producer, Mr. Freakin Frugal, her partner, offers a different perspective.
 
I enjoy their exchanges, it's so Men are from Mars and Women are from Venus. But, I do appreciate his focus on tools and machinery because he gets some good dumpster finds, Mrs. Frugal might miss. Plus, he is adorable.
 
Mrs. Frugal not only offers videos on their dumpster diving and Curbside Treasures adventures as well as a discussion about their finds, she offers cooking tips, recipes and other perspectives on how they use their finds.
 
I would love to know more about their donation efforts and how they are planning for their future.
 
Below are just two links to the Freakin Frugal videos:
 
This one is more of an intro video where Mrs. F talks about herself, her family and her approach to making videos and more:
 
An example of Mr. and Mrs. Freakin Frugal dumpster diving:
 

Tuesday, October 6, 2020

Microwave: Mug O'Diana's Bread Pudding

Part of searching for recipes are the surprises.

Don’t recall what I was originally searching for but I found a video with a Royal chef regarding Princess Diana’s favorite dessert, bread pudding with raisins.

So, of course, I adapted the original recipe and converted it to a mug recipe.

Mug O’Diana’s Bread Pudding
(Adapted from:
https://www.goodtaste.tv/2010/02/27/princess-dis-favorite-buttery-bread-pudding/)

Pre-preparation
 
Soak 1-2 TBspns raisins in vanilla flavoring overnight. Store in frig.


Ingredients:

8oz coffee cup
1 TB Olive oil (or margarine)
1 1/2 Multi-grain Bread slices, torn into small pieces
1 Egg
1 1-2 TBspns Sugar or honey
3 TBspns Cream, or DIY milk, or yogurt
1 Heaping TBspn Pre-Soaked raisins with residual liquid
1 Tspn Vanilla, if desired
2 Dashes Cinnamon
Garnish: Almond slivers
 
 
Process:

Add oil to bottom of cup.
Add egg, sugar, cream.
Add raisins and any residual liquid.
Add extra vanilla, if desired.
Add cinnamon.
Stir to mix well.
Break bread into pieces into cup.
Push bread down so all pieces are soaked in mixture.
Stir to mix well.
Microwave 2 minutes on high.
Garnish with almond slices.
Serve with fresh fruit.


Delicious!